OVERCOMING the 28mm struggle.
28mm photography is hard. This blog will hopefully make it easy.
When I first got my 28mm lens, it mostly sat unused on my shelf. Having always shot with 35mm, 50mm, and 85mm lenses, 28mm felt too wide—too many distractions crept into my shots, and I often wished for a longer focal length to capture distant subjects. But during a trip to Vienna, I decided to bring only one camera and the 28mm prime. With no other lenses to switch to, I embraced the challenge and ended up capturing some of my favourite photos. Now, 28mm has gone from my least used lens to my most used lens of 2024. In this blog, I’ll share how I overcame the challenges of 28mm so you can make the most of it too.
And if you prefer to watch, check out my YouTube video on this topic—I'm a visual learner myself!
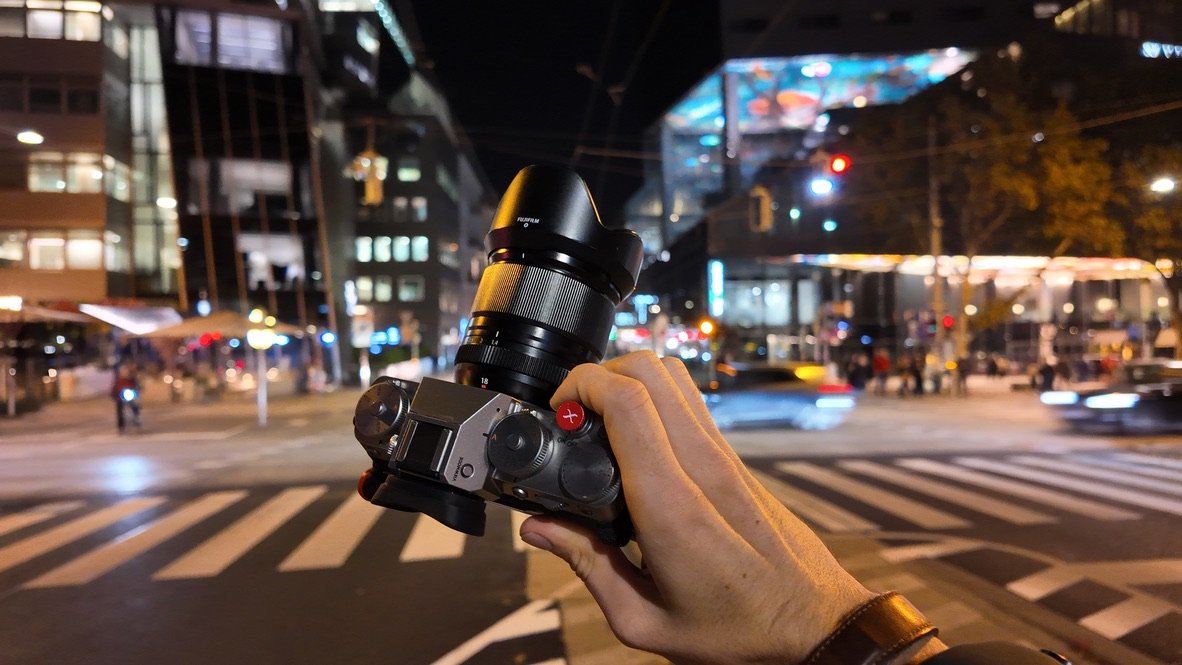
28mm on Full Frame or 18mm on APS-C.
1. Have a Clear Main Subject
When it comes to impactful photography, a strong, easily recognisable subject is key. The viewer does not show mercy: your photo has no impact when your subject is not clearly recognisable within the first second. For your 28mm photography, that means that you need one clear, standout subject—not three, not two, but one. Here are some strategies to make your subject stand out in your photo.
Use Good Light
“Good Light” is subjective. But generally, good light is direct light that does not stand right above your head. For instance: Golden hour sunlight (just after sunrise or before sunset) is ideal; it casts long shadows and creates a stark contrast between your subject and the background. Street lighting from shop windows or cars at night can also spotlight your subject. Direct light from a single source naturally brings attention to your subject by illuminating a small portion of the scene while keeping the rest darker.
Why good light is useful: The viewer’s eye is drawn to the brightest point in your composition. Additionally, if the scene is bright and there is something like a silhouette “breaking” the bright pattern, your subject will stand out. Bottom line: placing your subject in or near the brightest part of your scene immediately draws the viewer's eye.
Go Closer
Especially on wide angle lenses, subjects appear too small in your frame. By physically moving closer to your subject, it can take a more prominent role in your frame. Alternatively, you can crop a 28mm frame in post for your subject to be more visible. Sorry to all 28mm purists who do not like cropping but part of the 28mm versatility is the ability to crop to something tighter.
The runner is really “brought to life” by the setting sun.
2. Minimise Distractions
The holy grail of wide angle photography and photography in general is to create a composition that is impactful while minimising distractions. This is particularly challenging on 28mm lenses since they capture more of the environment, often leading to cluttered compositions. However, there are effective ways to manage this:
“Block Off” Technique
Use simple, undistracting elements (like walls, fences) to cover unwanted parts of the scene. Uninteresting textures such as a blank wall will naturally lead the viewer’s eye to the interesting part—that being your subject.
Good Light Again
Use light to obscure distractions: Good lighting not only helps your subject pop but also hides less appealing parts of your scene. Where there is light, there is also shadow: use those shadows to obscure distractions and the viewer will immediately be drawn to the brightest part of your frame.
Here I used a fence to block off distractions on the left side of the frame. The viewer automatically focuses on the main subject.
The bike on the left-hand side really sucks. But given the prominence of the main subject, it is hardly noticeable.
3. Mastering Composition with a Wide-Angle Lens
A clear subject and no distractions are 50% of a good wide angle shot. The other 50% is to use a good composition supporting your main subject. While there are many compositional techniques, some are especially relevant for 28mm photography:
Leading Lines
Leading lines are natural lines in your environment that guide the viewer deeper into your photo and preferable toward your subject. Objects like fences, pathways, alleys, shadows, or sidewalks can act as leading lines. And if you manage to get them to interact and “point” toward your subject, they will give your composition a sense of flow and purpose.
The edge of the sidewalk serves as a perfect leading line.
This small path leads toward the subject and from there deeper into the scene toward the house serving as a supporting subject.
The fence guides the viewer’s eye toward the bridge and the biker.
Thanks for reading! If you like what you saw, you might also like my other blog posts :) Alternatively, here is the link to my Youtube channel:


